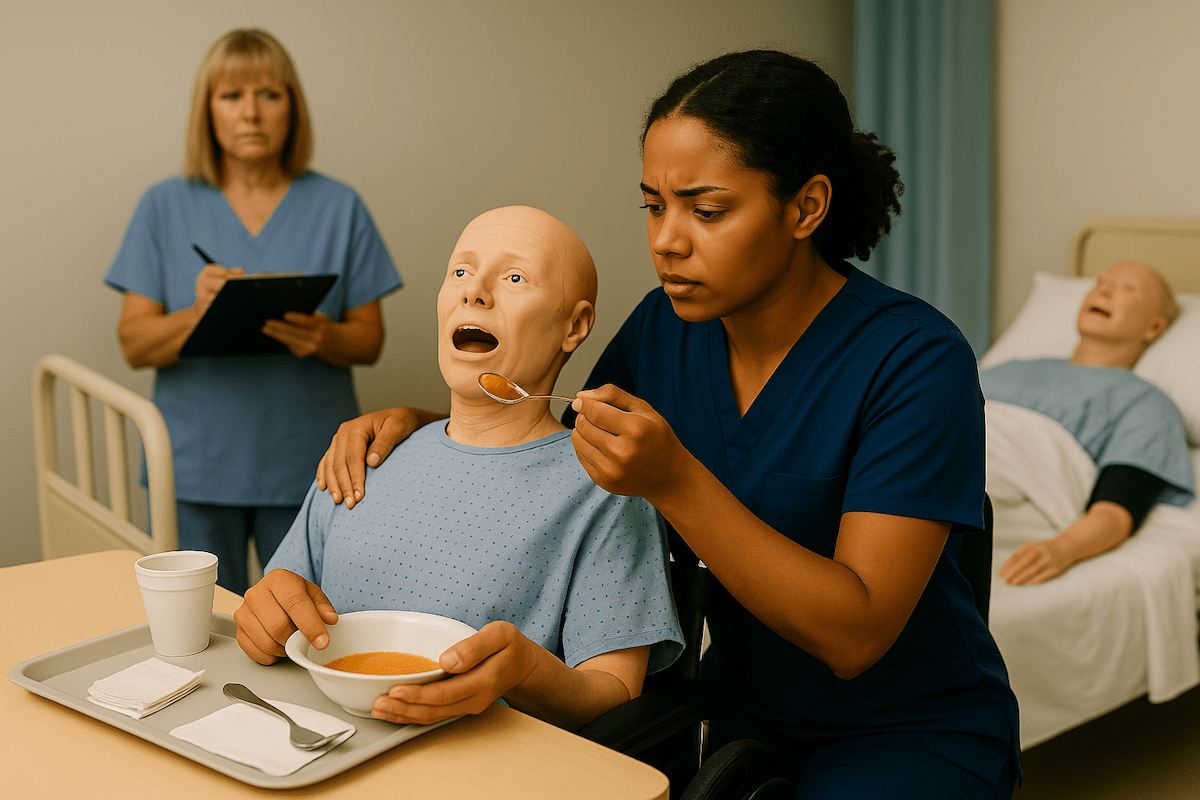
If you’re anxious about bedpan placement technique, that feeling makes complete sense. Even experienced CNAs report that bedpans “fail to catch” and create positioning challenges. Recent healthcare surveys reveal that 87% of caregivers admit bedpans tip or fall at least sometimes, while 62.6% find placement “tough or very difficult.” Many report positioning failures despite training.
You’re not alone in finding this “basic” skill more complex than expected.
The truth is, bedpan assistance requires precision that comes from understanding exactly what works and why. Many CNA programs rush through fundamentals, leaving students to figure out positioning details through trial and error.
This guide provides the tested techniques and provider-specific testing guidance you need to master this essential skill.
What CNAs Need to Know About Bedpan Technique
Working CNAs often express concerns about bedpan positioning that mirror your own experiences. One CNA shared: “I asked her how I should place the bed pan because I wasn’t confident in placing them since I barely used them, and when I’ve used them, they failed to catch any stool, and I generally feel like they don’t work each time I’ve used them.”
This struggle doesn’t reflect your competence. Healthcare research reveals that bedpan placement genuinely challenges even experienced caregivers, with spillage rates reaching 87% in some facilities.
The Training Gap Reality
Students frequently discover that fundamentals move too quickly to build real confidence. One program graduate note: “You would be surprised at how fast these nursing programs go through fundamentals. Mine doesn’t even require Bedpan Skills to be checked by the professor, but by other students.”
Understanding why bedpans “fail” helps build your technique confidence. Most positioning problems stem from three preventable issues:
- Incorrect orientation (placing the bedpan backwards)
- Improper alignment (not centering under the buttocks)
- Inadequate protective measures
When you know what to watch for, these problems become preventable.
Why Proper Technique Matters for Testing Success
Testing providers notice that students who understand the reasoning behind each step perform with greater confidence during skills demonstrations. Mastering proper technique is crucial for maintaining patient dignity and professional competence.
Master This Skill With Expert Video Guides
Join 6,000,000+ students who passed with Mometrix’s proven study system
Get Instant Access →Step-by-Step Bedpan Placement Technique That Actually Works
This technique prevents the common failures CNAs report and ensures you’ll pass skills testing while maintaining patient comfort.
Essential Supplies Checklist
- Appropriate bedpan (standard or fracture type)
- Disposable protective pad (required for Prometric testing)
- Gloves (minimum two pairs)
- Toilet paper and hand wipes
- Privacy curtain or screen
- Bath blanket for covering
The 9-Step Technique for Testing Success
- Knock and identify yourself by name. Explain the procedure to the patient.
Testing context: Communication scored by all providers – missing introduction causes a point deduction.
- Close door/curtains, lock bed wheels, raise bed to waist height, lower head of bed flat.
Testing context: Flat position prevents positioning failures; proper height shows safe body mechanics.
- Put on gloves, place a protective pad under the buttocks (if required), and cover the patient with a blanket.
Testing context: Prometric requires a protective pad as a scored checkpoint. NNAAP allows but doesn’t require.
- Position bedpan under buttocks – mobile patients lift hips, immobile patients roll to side first.
Testing context: Never push/shove a bedpan, which causes safety deduction and positioning errors.
- Verify that the buttocks are centered over the opening. Standard pans need a wider end under the buttocks, while fracture pans need a flat end under the buttocks with a handle toward the feet.
Testing context: Misalignment is the most common test failure, causing spillage during demonstration.
- Remove gloves, wash hands, and raise the bed head to 30-45 degrees.
Testing context: NNAAP requires a glove change here, which is an automatic failure if it is missed. Other providers don’t require it.
- Place toilet paper and call light within reach, tell the patient to signal when done, and step away.
Testing context: All providers check call light access and privacy provision, which is critical for dignity scoring.
- Return when signaled, put on clean gloves, and lower the head of the bed flat before removal.
Testing context: Flat position prevents spilling – removing from the upright position causes a mess and failure.
- Remove bedpan, keeping level, provide perineal care, offer hand hygiene, empty/clean equipment, remove gloves, and wash hands.
Testing context: Final handwashing is critical for infection control. The Headmaster requires output measurement within 25ml.
Bedpan Skills Testing: What Each Provider Actually Requires
Testing anxiety often stems from uncertainty about specific requirements. Each major testing provider has distinct protocols that can make or break your skills demonstration.
NNAAP (Credentia/Pearson VUE) – The Glove Change Protocol
NNAAP exams focus on critical element steps that must be performed correctly. The key difference is that mandatory glove change is mid-procedure.
Critical requirements:
- Remove gloves after placing the bedpan
- Wash hands thoroughly
- Put on fresh gloves for removal
The bedpan placement itself must demonstrate correct positioning. NNAAP doesn’t require a protective pad (though using one won’t cause failure). They evaluate bedpan assistance separately from output measurement.
Prometric Testing – The Protective Pad Requirement
Prometric has one unique requirement that competitors’ content often misses: you must place a protective pad under the patient before bedpan placement. This is a scored checkpoint.
Key elements:
- Five-skill evaluation includes handwashing and indirect care
- Protective pad placement is mandatory
- No specific glove change protocol required
- Focus on infection control throughout
Headmaster (D&S Diversified Technologies) – Output Measurement Combined
The Headmaster frequently combines bedpan assistance with output measurement as a single skill. This creates additional requirements that other providers don’t have.
Testing specifics:
- Measure urine volume within 25ml accuracy
- Record measurement properly on the provided form
- Score requires 80% of steps plus all “key steps”
- Missing any bolded key step = automatic failure
Understanding these provider differences eliminates guesswork during your stressful testing environment. Students who prepare for their specific testing protocol perform with noticeably greater confidence.
Quick Reference: Testing Provider Comparison
| Provider | Key Difference | Critical Requirement | Output Measurement |
|---|---|---|---|
| NNAAP | Mandatory glove change mid-procedure | Remove/wash/reglove after placement | Separate skill |
| Prometric | Protective pad required | Must place a pad before a bedpan | Separate skill |
| Headmaster | Combined with output measurement | Measure within 25ml accuracy | Same skill |
Common Bedpan Mistakes That Cause Test Failures (And How to Avoid Them)
Understanding failure patterns helps you avoid the positioning problems CNAs frequently report. Here are the four critical error categories that cause skills test failures:
1. Backwards or Upside-Down Placement
The most common error involves incorrect bedpan orientation. Students frequently mention technique variations that create problems. One shared: “The way I was shown to use a bed pan was to put a liner inside the bed pan to capture the stool without getting it dirty, but when I tried that, they seemed to fail because the liner/absorption pad is straight and causes more mess.”
How to avoid:
- Standard bedpans: wider end always under buttocks
- Fracture pans: flat end under buttocks, handle toward feet
- Double-check orientation before proceeding
2. Alignment and Centering Issues
Partial positioning under the buttocks causes spillage. The patient’s entire bottom must center over the bedpan opening.
Prevention strategy: Take an extra moment to verify positioning prevents most “catch failures.”
3. Safety Protocol Violations
These lapses create risks evaluators mark as critical failures:
- Forgetting to lock the bed wheels
- Not lowering the bed after care
- Leaving patients without call light access
- Skipping required glove changes (NNAAP)
- Missing protective pad placement (Prometric)
4. Timing and Pressure Injury Risks
Leaving patients on bedpans too long can cause pressure injuries. Clinical research shows that even short periods on hard surfaces create skin redness, especially in elderly patients.
- CRITICAL SAFETY REMINDER: Check on patients every 5 minutes maximum while on a bedpan. Stage 1 pressure sores can develop quickly from prolonged contact with hard bedpan surfaces. Remove the bedpan promptly when the patient signals completion.
- Safe practice: Never leave a patient unattended on a bedpan for extended periods, regardless of how busy your shift becomes.
Practice With 600+ CNA Exam Questions
See exactly how this skill appears on the real test
Interactive Bedpan Skills Checklist
Practice your bedpan technique with our step-by-step interactive checklist that mirrors testing conditions. This tool guides you through each critical element, tracks your progress, and helps identify gaps in your preparation before exam day.
Use this checklist to simulate the testing experience and build muscle memory for proper sequencing. Download the PDF version for offline practice sessions and last-minute review before your skills test.
Managing Bedpan Anxiety and Patient Dignity
First-time clinical experiences often include completely normal anxiety. One student shared: “Will this impact my performance grade? This was my first peri care… I had to run to the bathroom and got sick. I did go back, tho, and finished, but I feel kinda bad.”
Professional CNAs learn to manage both their own comfort levels and patient dignity concerns through practical strategies.
Building Your Professional Confidence
Practice the technique steps until they become automatic. Confidence comes from knowing exactly what to do next, even when situations feel overwhelming.
Even experienced nurses sometimes struggle with the bedpan technique. Many CNAs encounter situations where nurses admit, “I don’t know, I was sort of kinda relying on your tech knowledge to do this.”
Patient Dignity Preservation Strategies
Communication throughout the process reduces patient anxiety. Simple statements like “I’m going to help you get comfortable on this bedpan” provide reassurance about what’s happening next.
Privacy maintenance requires vigilant attention:
- Ensure curtains close completely
- Speak quietly about the procedure
- Work efficiently but never rush
- Patients sense discomfort, which increases their embarrassment
Practical Tips for Difficult Situations
When patients resist or feel embarrassed, acknowledge their feelings directly. Phrases like “I understand this feels uncomfortable” validate their experience while maintaining professional boundaries.
Students experiencing nausea or strong reactions should prepare by eating lightly before clinical experiences and practicing breathing techniques to maintain focus on patient care.
Bedpan CNA Skills Video Demonstrations
Watch experienced CNAs demonstrate proper bedpan technique from start to finish, including critical positioning details that can make or break your testing performance. These videos show real-time decision making, proper body mechanics, and communication strategies that evaluators specifically look for.
See how to handle everyday challenges like patient resistance, positioning adjustments, and maintaining dignity throughout the procedure. Learn the subtle techniques that separate confident, competent CNAs from those who struggle with this fundamental skill.
Bedpan FAQ for CNA Students
Standard bedpans require the wider end to be aligned with the patient’s buttocks and centered over the opening. Fracture pans need the flat end under the buttocks, with the handle pointing toward the patient’s feet.
For fracture pans, the handle always faces toward the foot of the bed for easy removal. Standard bedpans typically have their wider, deeper end positioned under the buttocks.
To prevent pressure injuries, minimize time. Check on patients every 5 minutes and remove the bedpan promptly when they signal completion. Prolonged positioning can cause skin breakdown and discomfort.
This depends on your testing provider. NNAAP and Prometric typically don’t require measurement during the bedpan skill, while Headmaster often combines bedpan use with output measurement as a single task.
Incorrect orientation typically results in automatic skill failure because it demonstrates a fundamental misunderstanding of the procedure. To avoid this critical error, practice proper positioning until it becomes automatic.
Ready to Ace Your CNA Exam?
Get everything you need: video guides, practice tests, and detailed study plans


