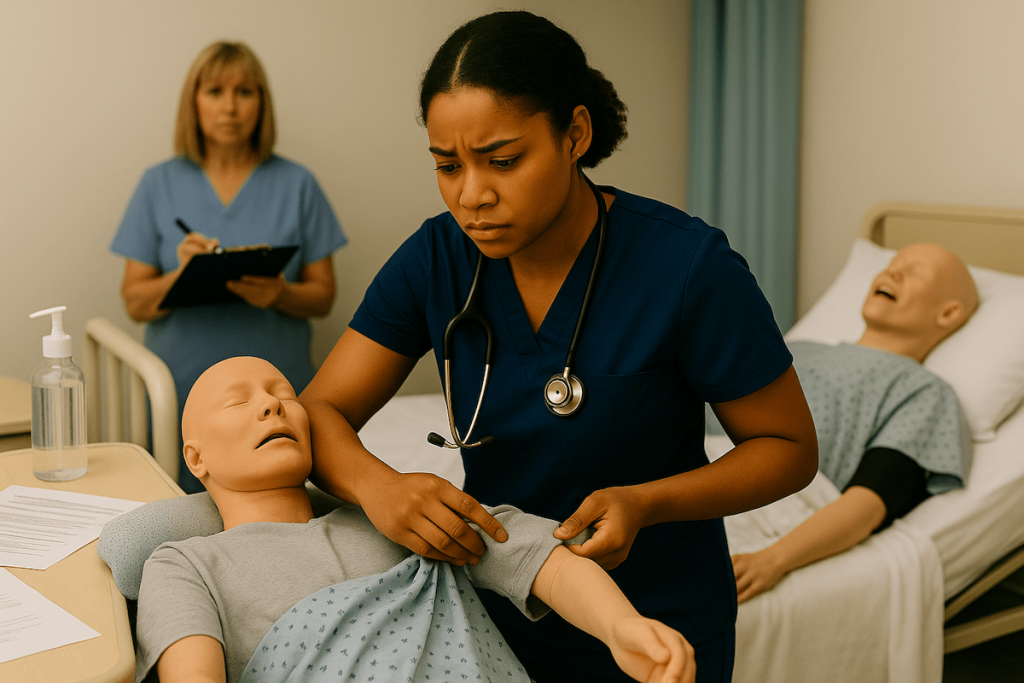
If you’re feeling anxious about the adaptive dressing skill on your CNA test, that concern makes perfect sense. This complex procedure requires precision under pressure, and evaluators are watching your every move.
The encouraging news is that understanding exactly what each testing provider looks for can transform your confidence from uncertain to prepared.
Nearly 50% of stroke survivors cannot dress independently in their first month of recovery, making adaptive dressing techniques essential knowledge for every CNA. Whether you’re testing with NNAAP, Prometric, or Headmaster, the fundamental principle remains consistent: dress the affected (weak) side first.
Working CNAs often find themselves reflecting on this complex skill: “I had handwashing, BP, foot care, and PPE, and dressing a patient on the weak right side…I think the patient’s dressing was fine.” That uncertainty after performance is completely normal – this skill combines technical precision with emotional awareness.
What CNAs Need to Know About Adaptive Dressing Requirements
Every CNA skills test includes adaptive dressing because it evaluates multiple competencies simultaneously. You’re demonstrating proper body mechanics, infection control, patient dignity, and clinical reasoning all within one skill.
The Universal “USA First” Principle
Testing providers recognize that adaptive dressing shows your ability to modify basic care techniques for individual patient needs. The universal principle across all providers follows what rehabilitation professionals call “USA First”:
- Undress Strong first
- Dress Affected first
This sequence minimizes stress on the weak limb while allowing the patient’s stronger side to assist with garment manipulation. Motor learning research confirms that task-specific practice of this exact sequence improves outcomes more than general exercise approaches.
Provider Simulation Differences
Students consistently ask about the fundamental sequence: “Do you dress the weak or the strong side first? I keep getting confused about the order.” The answer never changes, regardless of your testing provider: always dress the weak arm first, undress it last.
Provider-specific differences exist in the simulation format rather than the technique:
- NNAAP: Uses volunteer candidates as residents
- Prometric: Employs mannequins for consistency
- Headmaster: Trains professional actors to portray specific conditions
These variations affect your communication approach but never change the core dressing sequence.
Master This Skill With Expert Video Guides
Join 6,000,000+ students who passed with Mometrix’s proven study system
Get Instant Access →Step-by-Step Adaptive Dressing Technique for CNA Testing
Master this systematic approach that works across all testing providers:
Phase 1: Room Preparation and Privacy
1. Enter with proper protocol
- Knock and wait for permission before entering
- Close the privacy curtain or door completely
- Why this matters: Privacy violations cause automatic failure across all providers
2. Explain the procedure clearly
- State: “I’m going to help you change into a clean shirt. I’ll make sure you stay covered and comfortable.”
- Why this matters: Communication demonstrates person-centered care that evaluators specifically watch for
3. Gather all supplies before starting
- Clean shirt, bath blanket for privacy, laundry hamper for soiled clothing
- Position supplies within arm’s reach
- Why this matters: Leaving the resident during the procedure creates safety concerns that evaluators note
Phase 2: Assessment and Positioning
4. Review the care plan for the affected side
- Identify which arm is weak/paralyzed from the resident’s information
- Why this matters: Dressing the wrong side first results in immediate skill failure
5. Ask the resident about clothing preference
- “Would you like to wear the blue shirt or the striped one today?”
- Why this matters: This is a critical element step in NNAAP testing, and missing it means failure.
6. Position the resident safely
- Sitting on the bed edge or in a chair if the condition permits
- Ensure the bed is at the proper working height, and lock the wheelchair wheels
- Why this matters: Poor positioning creates fall risks that evaluators cannot ignore
Phase 3: Undressing Sequence
7. Cover the resident with a bath blanket
- Maintain privacy throughout the entire clothing change
- Why this matters: Unnecessary exposure violates dignity standards across all providers
8. Remove soiled garment from the STRONG arm first
- Allow the stronger limb to assist with the removal process
- Why this matters: This protects the weak limb from strain and demonstrates proper technique knowledge
9. Support the affected arm during garment removal
- Guide clothing over the weak arm while supporting at the elbow and wrist
- Never pull or force movement
- Why this matters: Rough handling of the affected limb causes immediate failure for safety violations
Phase 4: Dressing Sequence
10. Place a clean garment on the AFFECTED arm first
- Thread the weak arm through the sleeve before addressing the strong arm
- Gather sleeve material to slide over the limb easily
- Why this matters: This is the core principle evaluators watch for – reversing this order means failure
11. Support the weak arm throughout dressing
- Hold the limb gently at the joints while maneuvering clothing
- Move slowly and communicate what you’re doing
- Why this matters: Patient comfort during weak limb manipulation demonstrates proper caregiving technique
12. Complete the strong arm after the affected side
- Allow the resident to assist with the functional arm if able
- Pull the garment around the back and position it properly
- Why this matters: Encouraging resident participation shows an understanding of independence promotion
13. Fasten clothing appropriately
- Button shirt completely, tuck if needed
- Ensure the garment sits comfortably without twisting
- Why this matters: Incomplete dressing suggests rushed or inadequate care
14. Position the resident safely and comfortably
- Lower the bed to a safe height, and place the call light within reach
- Ask if the resident feels comfortable in the new clothing
- Why this matters: Final safety check demonstrates thorough care completion
Practice With 600+ CNA Exam Questions
See exactly how this skill appears on the real test
Adaptive Dressing CNA Skill Checklist
Practice makes perfect, and our interactive checklist helps you master each critical step before testing day. Check off each action as you practice to build muscle memory and confidence with the systematic approach that evaluators expect to see.
Download our printable PDF version during study sessions or keep it as a quick reference guide. This checklist consolidates all provider requirements and evidence-based techniques into one streamlined tool that supports your preparation and reduces testing anxiety.
Managing Performance Under Evaluator Observation
Testing psychology research reveals that observation pressure can actually improve compliance with safety steps, though it may initially feel uncomfortable. CNA candidates frequently mention this reality: “Getting nervous when evaluators watch closely affects performance even when students know the procedures well.”
Provider-Specific Evaluator Behaviors
Understanding what evaluators do in each testing format helps reduce anxiety:
NNAAP Evaluators:
- Watch volunteer interactions closely for respectful communication
- Note whether you ask about clothing preference (Critical Element)
- Time you strictly with a 5-minute warning before a 30-minute limit
Prometric Evaluators:
- Focus on the mannequin manipulation technique and safety
- Expect you to speak to the mannequin as if it were a real person
- Use a checkpoint system rather than all-or-nothing critical steps
Headmaster Evaluators:
- Observe interaction with a trained actor following specific protocols
- Look for 80% overall performance plus all bold steps correct
- Allow 30-35 minutes with flexibility based on skill combination
Confidence-Building Strategies
Many students report that systematic preparation reduces performance anxiety:
- Practice the exact sequence until it becomes automatic
- Time yourself regularly to build comfort with the evaluation pace
- Role-play with family members to get used to being watched
- Remember that evaluators want you to succeed and demonstrate competence
This emotional journey appears throughout CNA communities: “I feel like I failed and I’m so scared,” followed by “UPDATEEE I PASSEDDD.” Most students who know the technique perform better than they initially think.
Common Dressing Mistakes That Cause Test Failures
Critical Sequence Errors (Automatic Failure)
Dressing the strong side first
- Most common mistake across all providers
- Results in immediate failure regardless of other performance
- Recovery is impossible once a sequence error is made
Improper undressing order
- Removing clothing from the weak side first causes limb strain
- Demonstrates a lack of adaptive care knowledge
- Safety violations that evaluators cannot overlook
Safety and Dignity Violations
Rough handling of the affected limb
- Pulling, forcing, or extending the weak arm improperly
- Shows an inadequate understanding of patient vulnerability
- Creates liability concerns that evaluators must address
Privacy protection failures
- Unnecessary exposure during clothing changes
- Forgetting to close the curtain or maintain coverage
- Violates the resident rights standards universally required
Poor body mechanics
- Improper bed height is causing evaluator safety concerns
- Reaching across the resident unsafely
- Demonstrates inadequate self-care awareness
Provider-Specific Failure Patterns
NNAAP Critical Element Misses:
- Not asking a clothing preference question
- Missing any bold-marked step in the handbook
- Exceeding the 30-minute time limit
Prometric Checkpoint Accumulation:
- Multiple small errors leading to point threshold failure
- Safety violations are worth significant point deductions
- Incomplete communication with the mannequin
Headmaster Bold Step Failures:
- Missing any bold-marked critical action
- Falling below the 80% overall performance threshold
- Inadequate interaction with a trained actor
Testing Provider Requirements: NNAAP vs. Prometric vs. Headmaster
Complete Provider Comparison
| Testing Aspect | NNAAP/Credentia | Prometric | Headmaster |
| Simulation Type | Live volunteer candidate | Mannequin | Trained actor |
| Clothing Preference | Must ask (Critical Element) | Expected but not scored separately | Not explicitly required |
| Time Allotment | Exactly 30 minutes | 31-40 minutes (varies) | 30-35 minutes (flexible) |
| Failure Criteria | Any Critical Element missed | Point threshold not met | Bold steps missed OR under 80% |
| Communication Focus | Volunteer interaction | Mannequin conversation | Actor engagement |
NNAAP/Credentia Specifications
Official handbooks specify that another candidate will volunteer as a resident for this skill. You must ask which shirt they prefer to wear – this is a Critical Element Step that causes failure if missed.
The volunteer wears their own clothes under a hospital gown, so you’re changing the outer garment only. The time limit is fixed at 30 minutes with a 5-minute warning. All bold steps in the handbook must be performed correctly.
Prometric Standards
Uses a mannequin for consistency across all test sites. You’re expected to speak to the mannequin as if it were a real person, asking preferences and explaining your actions.
The mannequin allows you to practice limb manipulation without concern for volunteer comfort. Timing varies from 31 to 40 minutes, depending on your specific skill combination. Scoring uses checkpoints rather than critical elements.
Headmaster Protocols
Employs trained actors who follow specific behavioral guidelines. The actor remains passive during dressing, allowing you to demonstrate proper technique without assistance or resistance.
You must perform all bold steps correctly, and you must achieve an 80% overall score. Actors wear layers so you can practice realistic garment changes. Time allocation is flexible but sufficient for thorough performance.
Adaptive Dressing Video Demonstrations
Proper adaptive dressing techniques reinforce the systematic approach and help you visualize correct hand positioning and limb support. These demonstration videos show the evidence-based sequence from multiple angles, helping you understand the gentle movements that protect affected limbs while maintaining patient dignity.
Use these demonstrations alongside your hands-on practice to build the confidence and competence needed for successful skill demonstration.
Adaptive Dressing FAQ for CNA Students
Always dress the affected (weak) side first. This universal principle prevents limb strain and demonstrates proper adaptive care technique across all testing providers.
USA First stands for “Undress Strong first, dress Affected first.” This mnemonic helps remember the correct sequence for safe adaptive dressing.
The care plan or instruction card will specify which arm is affected. Read this information carefully before beginning the skill demonstration.
Dressing the strong arm first is considered a critical error that causes automatic failure across all testing providers. The affected arm must always be dressed first.
Even when using a mannequin (Prometric), you should verbally ask about clothing preferences to demonstrate person-centered care communication skills.
While the basic techniques remain the same, providers use different simulation methods: NNAAP uses live volunteers, Prometric uses mannequins, and Headmaster uses trained actors.
Most students complete adaptive dressing in 8-12 minutes when performed systematically with proper technique and safety measures.
During testing, residents, actors, and mannequins are instructed not to assist. You must independently demonstrate the adaptive technique while maintaining gentle, supportive care.
Adaptive dressing follows the same basic steps but reverses the usual sequence to protect weak limbs and uses additional support techniques for affected extremities.
Ready to Ace Your CNA Exam?
Get everything you need: video guides, practice tests, and detailed study plans


