If you’re anxious about PPE skills testing, that concern reflects reality – research shows 92.5% of healthcare students commit technique errors after standard training. The encouraging news is that understanding exactly what evaluators watch for can transform your confidence and performance. This guide provides the specific technique guidance and provider insights you need to master PPE skills testing.
PPE Requirements for CNA Testing: What Every Student Must Know
PPE skills appear on every CNA exam because infection control forms the foundation of safe patient care. Testing providers have heightened their focus on these competencies since COVID-19, making proper technique more critical than ever.
Why Testing Feels Different from Training
The testing environment differs significantly from training in ways that catch students off guard. Many students discover this: “All I can say is… I do not feel really good about it. It was just completely different from what I expected it to be.”
Key differences include:
- Real testing sites use actual supplies rather than practice materials
- Evaluator observation creates performance pressure that can affect technique quality
- Time constraints feel more intense than classroom practice
- Equipment may be different brands or sizes from the training materials
The Critical Element Reality
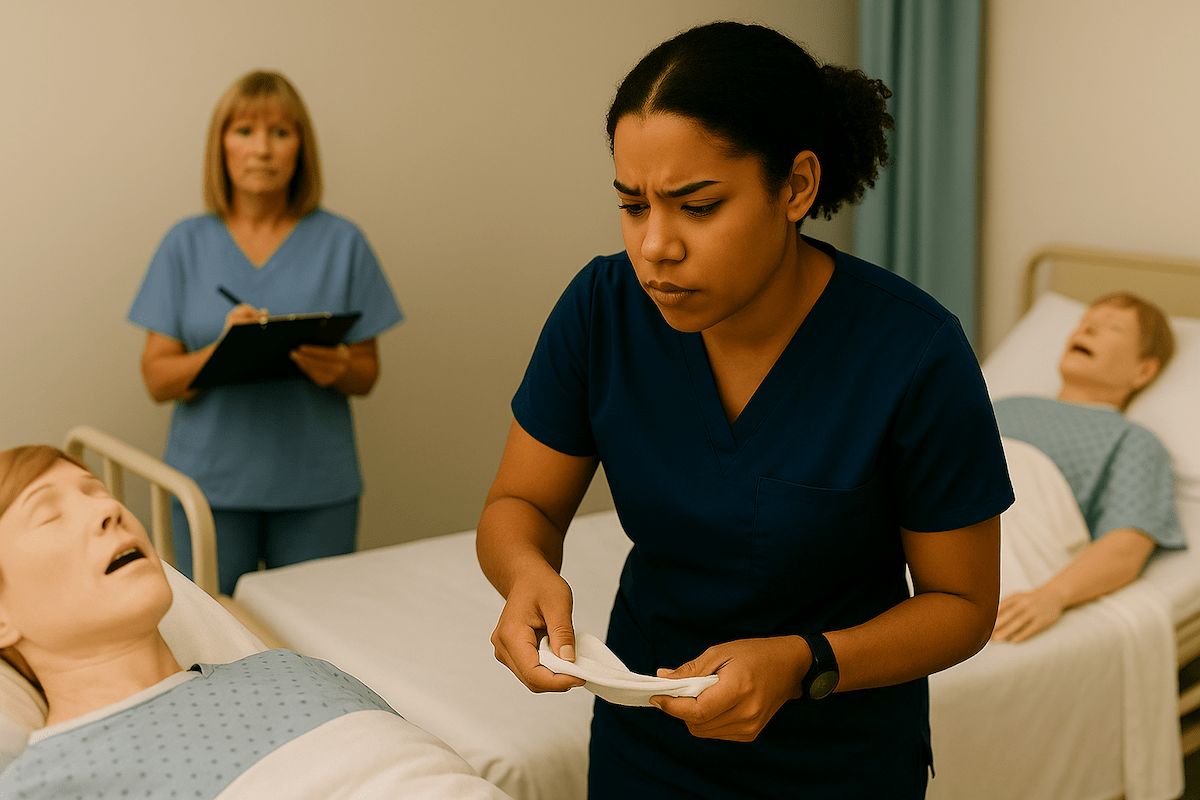
Research reveals that hand hygiene steps are missed or performed improperly in 66-78% of PPE attempts, making this the most common failure point. Understanding why these skills matter helps build confidence: proper PPE technique protects both you and your patients from healthcare-associated infections that can have serious consequences.
Testing providers designate certain PPE steps as “critical elements” – automatic failure points that cannot be corrected once missed:
- Failing to wash hands when required
- Not wearing gloves during exposure-prone tasks
- Contaminating yourself during PPE removal
- Breaking sequence order in provider-specific requirements
Program directors consistently report that students who understand the reasoning behind each step perform more confidently under evaluator observation.
Master This Skill With Expert Video Guides
Join 6,000,000+ students who passed with Mometrix’s proven study system
Get Instant Access →Complete PPE Donning Steps for CNA Skills Tests
The standard donning sequence follows a specific order designed to prevent contamination: hand hygiene → gown → mask or respirator → eye protection → gloves. Each step builds protection while maintaining the integrity of previous barriers.
- Hand Hygiene Foundation
Begin with thorough handwashing using the 20-second technique. Wet hands with clean water, apply soap, and scrub all surfaces, including between fingers, under nails, and up to wrists.
Why it matters for testing: This critical element appears first because contaminated hands defeat all other PPE. Students consistently struggle with avoiding recontamination – never touch the sink or faucet with clean hands after washing.
Testing tip: Use a paper towel to turn off the faucet, keeping your hands clean throughout the process. - Gown Application and Coverage
Select an appropriate size gown that fully covers your torso from neck to knees and arms to wrists. Slip arms through sleeves and secure at neck first, then at waist. The gown must overlap in the back to prevent your uniform from being exposed.
Why it matters for testing: Evaluators watch for complete coverage as a critical checkpoint. Incomplete coverage is a critical checkpoint failure since the gown must overlap completely in the back to prevent contamination of your clothing.
Testing tip: If the gown gaps in the back, it’s too small. Request a different size rather than proceeding with inadequate protection. - Mask or Respirator Positioning
Position the mask to cover the nose and mouth completely, ensuring there are no gaps at the sides. For respirators, perform a user seal check by covering the mask and inhaling—you should feel it pull against your face slightly.
Why it matters for testing: Testing providers typically emphasize proper mask positioning since inadequate coverage compromises protection.
Testing tip: Adjust mask before moving to next step – readjusting during patient care suggests poor initial technique. - Eye Protection Positioning
Place goggles or face shields to protect eyes and the surrounding facial area from splashes. Ensure a comfortable fit without gaps that could allow contamination.
Why it matters for testing: This step often gets rushed, but proper positioning prevents having to readjust during patient care.
Testing tip: Ensure a comfortable fit without fogging – you’ll need clear vision for remaining skills. - Glove Application with Cuff Overlap
Don gloves last, pulling cuffs over gown sleeves to eliminate any skin exposure. Check for tears or defects before proceeding with patient contact.
Why it matters for testing: This overlap prevents contamination of wrists and forearms, areas that research identifies as frequently contaminated sites. Research shows that hands and wrists are primary contamination sites during PPE removal.
Testing tip: Glove-sleeve overlap is a specific checkpoint evaluators watch for during testing.
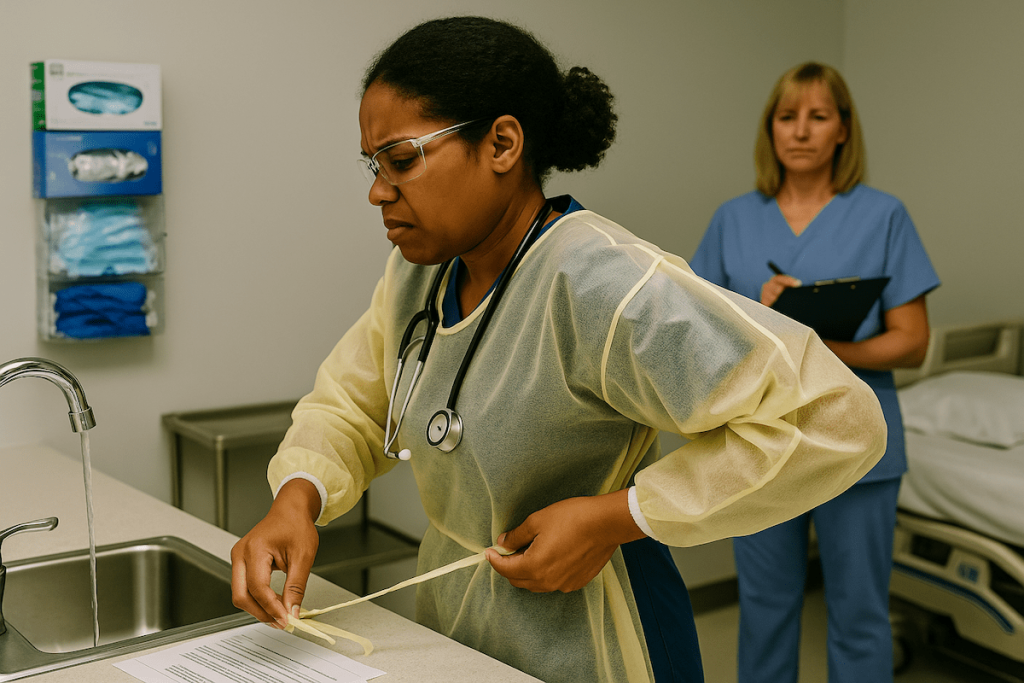
How to Tie PPE Gown Behind Your Back: Step-by-Step Technique
This challenge frustrates students universally, but specific techniques can eliminate coordination difficulties. This frustration resonates throughout CNA communities: “The gloves are easy to me, but my gown is going to be the reason I fail simply because I can’t tie a bow without looking at it.”
The Finger-Position Method
Step 1: String Preparation
- Locate both waist ties attached to the front of the gown (typically 18-24 inches each)
- Hold one tie in each hand before beginning the wrapping motion
- Maintain string tension throughout – loose ties make coordination much harder
Step 2: Behind-Back Positioning
- Wrap both ties around your waist simultaneously, keeping them at the same level.
- When your hands meet behind your back, you’ll feel the tie ends
- The key is maintaining string tension throughout the process
Step 3: Bow Creation Technique
- Hold one tie end between your thumb and index finger of your dominant hand
- With your other hand, create a loop with the second tie
- Thread the first tie through this loop and pull to create a bow
- Focus on security over perfect bow appearance
Alternative Techniques for Coordination Challenges
Students often struggle with gown mechanics: “For the life of me, I can’t tie a bow without seeing it, so I just tied two knots, but then of course I wasn’t able to get it untied from the back.”
Double-knot method: If bow tying proves impossible, a double knot can work for testing purposes, but practice the unknotting technique during removal. Some evaluators accept ties that are secure rather than perfectly formed bows.
Practice strategy: Use shoelaces to practice behind-back tying while standing in front of a mirror. Start by watching your reflection, then gradually practice without looking. Muscle memory develops quickly with repetition.
Alternative approach: Some students tie in front first, then carefully slide the knot around to the back, though this technique should be confirmed with your specific testing provider.
First Step in PPE Doffing Sequence: Safe Removal Without Contamination
Proper PPE removal prevents the 69% self-contamination rate research documents during doffing attempts. The sequence matters critically: gloves → eye protection → gown → mask → hand hygiene.
Step 1: Glove Removal (Most Critical)
What to do:
- Pinch the first glove at the wrist with the opposite gloved hand
- Peel away from the body, turning the glove inside out
- Hold the removed glove in the remaining gloved hand
- Slide fingers under second glove cuff (avoid touching exterior)
- Peel the second glove over the first, creating an inside-out bundle
Why it matters for testing: Hands and wrists are primary contamination sites. Any contact between the dirty glove exterior and skin causes contamination failure.
Testing tip: Move slowly and deliberately – rushing glove removal is the top cause of self-contamination.
Step 2: Eye Protection Removal
What to do:
- Handle only the headband or earpieces
- Lift away from the face without touching the front surface
- Place in a designated container or dispose of properly
Why it matters for testing: The front surface is contaminated from potential splashes, and touching it transfers pathogens to clean hands.
Step 3: Gown Removal Without Contamination
What to do:
- Unfasten neck ties first, then waist ties
- Pull the gown away from the neck and shoulders, touching inside only
- Turn the gown inside out while removing it from the arms
- Fold or roll into a bundle with the contaminated side inward
- Dispose of without letting the gown touch the floor or clean surfaces
Why it matters for testing: According to research, gown removal is the most error-prone PPE step. Touching exterior surfaces or letting your gown contact your uniform causes failure.
Testing tip: Keep the gown away from your body during removal. Imagine the front is covered in paint you don’t want to touch.
Step 4: Mask Removal Safety
What to do:
- Handle only ties, bands, or ear loops
- Remove from behind the head without touching the front
- Dispose of immediately in a waste container
Why it matters for testing: The mask front captures respiratory droplets and particles, and touching it contaminates hands immediately before final handwashing.
Step 5: Final Hand Hygiene
What to do: Perform a complete 20-second handwashing using the same technique as the initial wash.
Why it matters for testing: This critical element completes the protection cycle. Any shortcuts here negate all previous careful technique.
Practice With 600+ CNA Exam Questions
See exactly how this skill appears on the real test
Interactive PPE Skills Test Checklist
Master your PPE technique with our interactive checklist designed for CNA skills testing. This step-by-step guide helps you practice the exact sequence evaluators expect while building the muscle memory you need for test day confidence.
Use this checklist to:
- Practice donning and doffing in the correct order
- Verify you’re hitting all critical evaluation points
- Build confidence through repetitive practice
- Identify areas needing additional focus
Download the PDF version to practice offline or share with study partners. The interactive version tracks progress and highlights missed steps based on your testing provider’s requirements.
PPE Mistakes That Fail CNA Skills Tests: How to Avoid Critical Errors
Understanding failure patterns helps you avoid them. Testing providers categorize mistakes from minor point deductions to automatic failures.
Automatic Failure Triggers
Hand hygiene violations:
- Touching the sink or faucet with clean hands
- Skipping required handwashing steps
- Inadequate scrubbing time or technique
Glove protocol breaches:
- Forgetting gloves during required procedures
- Touching clean surfaces with contaminated gloves
- Improper removal causes self-contamination
Sequence order errors:
- Donning or doffing PPE out of the required order
- Mixing clean and dirty tasks without changing gloves
- Breaking sterile technique during procedures
Recovery Strategies When Possible
Some mistakes can be corrected if caught immediately:
Self-correction opportunities:
- Recognizing contamination and re-washing hands
- Requesting new gloves if the current pair tears
- Verbalizing awareness: “I touched the sink, I need to wash again.”
When recovery isn’t possible:
- After the evaluator’s intervention or reminder
- Once moving to the next skill section
- If contamination affects patient safety
Working CNAs acknowledge the time reality: “donning PPE over and over again takes up so much time. There’s no way we can be in and out of those COVID rooms.” Understanding this helps you appreciate why evaluators emphasize efficient, correct technique.
NNAAP vs Prometric vs Headmaster: PPE Testing Requirements by Provider
Each testing provider has specific requirements and emphases, though core PPE principles remain consistent.
NNAAP Requirements (Pearson VUE/Credentia)
Critical element designation: Hand hygiene and glove use are marked as automatic failure points in many skills.
Key features:
- “Donning and Removing Isolation Gown and Gloves” appears as a standalone skill
- Verbalization encouraged to demonstrate understanding
- COVID-era adaptations include heightened infection control scrutiny
- State variations exist, but core requirements stay consistent
Testing tips for NNAAP:
- Expect the gown and glove combination skill in testing
- Practice verbalizing each step as you perform it
- Focus on complete back coverage during gown application
Prometric Standards
Indirect Care checklist: PPE requirements integrated into every skill rather than standalone testing.
Key features:
- Standard precautions required for specific procedures (bedpan, catheter care, mouth care)
- Glove overuse not penalized – better safe than sorry approach
- Dual evaluator observation in some states increases scrutiny
- Hand hygiene is monitored throughout the entire exam
Testing tips for Prometric:
- Know exactly which skills require gloves by heart
- Demonstrate infection control awareness in all skills
- Practice smooth transitions between clean and dirty tasks
Headmaster Protocols
Mandatory combination skills: PPE is often combined with clinical tasks like urinary drainage measurement.
Key features:
- Step-by-step scoring system with detailed checkpoints
- Isolation scenarios may include full gown and glove requirements
- Specific sequence requirements (gloves off before gown removal)
- State variations in skill combinations but consistent PPE standards
Testing tips for Headmaster:
- Master exact sequence – out-of-order steps cause failures
- Practice combined skills under time pressure
- Focus on contamination prevention throughout procedures
Provider Comparison Quick Reference
| Provider | PPE Testing Format | Critical Focus | Key Success Tip |
|---|---|---|---|
| NNAAP | Standalone gown/glove skill | Complete coverage | Practice gown tying daily |
| Prometric | Integrated into all procedures | Know glove requirements | Master hand hygiene timing |
| Headmaster | Combined with clinical tasks | Exact sequence order | Practice removal slowly |
PPE Video Demonstrations
Sometimes seeing the technique in action makes all the difference. Our video demonstrations show proper PPE donning and doffing techniques performed by certified instructors, focusing on the behind-the-back gown tying method, which causes the most student anxiety.
PPE Skills Test FAQ for CNA Students
The universal sequence is: hand hygiene, gown, mask/respirator, eye protection, gloves. This order prevents contamination and follows CDC guidelines adopted by all testing providers. Each item builds protection without contaminating what you’ve already put on.
Always remove gloves first. Gloves have the highest contamination risk, and removing them first prevents spreading contaminants during the removal process. Follow with eye protection, gown, mask, then final hand hygiene.
This is a common misconception. PPE is donned from cleanest to dirtiest (inside out), not the reverse. After hand hygiene, the gown goes on first because it’s the base layer protecting your clothing. The sequence builds outward protection layers.
Yes – PPE competency is assessed in every CNA exam, though not always as a standalone skill.
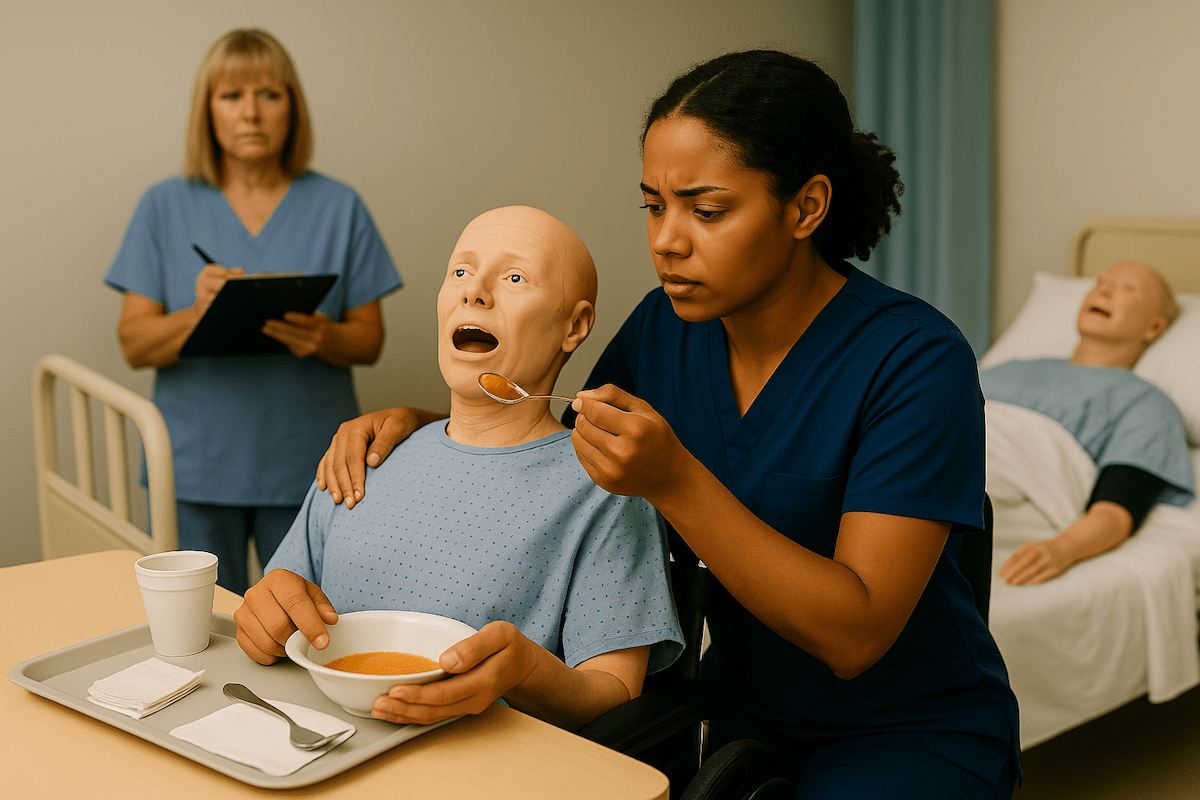
It may be integrated into other skills requiring standard precautions, such as catheter care, feeding assistance, or perineal care.
Extremely strict post-COVID. Evaluators now have zero tolerance for contamination risks. Perfect technique is expected, not just adequate performance. What might have been minor point deductions previously are now often automatic failures.
Ready to Ace Your CNA Exam?
Get everything you need: video guides, practice tests, and detailed study plans