If measuring urinary output makes you nervous about CNA testing, you’re in good company with thousands of nursing students. But here’s what might surprise you: students consistently call this the “easiest measurement skill” once they understand exactly what evaluators expect.
The relief in student communities is palpable when they discover their measurement skill assignment. One student shared: “I got lucky to get urinary output as my measurement skill. I am so relieved.”
This comprehensive guide draws from official testing provider protocols and real student experiences to help you master urinary output measurement with confidence. You’ll learn the exact accuracy requirements, step-by-step procedures, and common pitfalls that actually cause failures.
Why CNAs Must Master Urinary Output Measurement
Urinary output measurement serves as a critical indicator of kidney function, fluid balance, and overall patient health. As a CNA, you’ll monitor output to help detect early signs of dehydration, kidney problems, or medication effects.
Every CNA testing provider includes measurement skills as mandatory competencies. Students often worry about precision, but testing data reveals an encouraging reality: less than 5% of candidates fail specifically due to measurement inaccuracy.
The community consensus reinforces this optimism. Students frequently express: “Measuring and Recording Urinary Output (so glad I got this measurement, the easiest one fr).” This confidence comes from understanding that urinary output measurement follows straightforward principles with clear visual feedback.
Unlike blood pressure or pulse measurements that require listening skills and timing precision, urinary output provides direct visual confirmation. You can see the measurement, verify your reading, and double-check accuracy before recording.
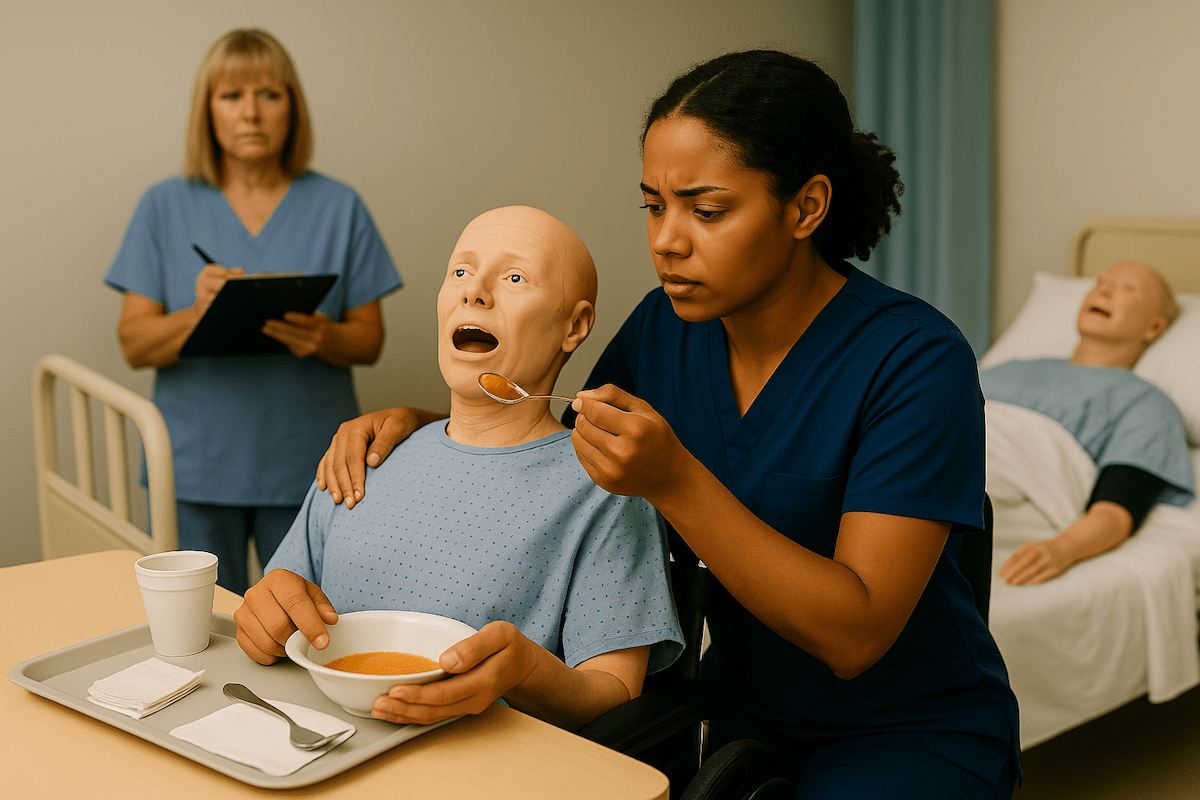
CNAs measure urinary output in various settings: from bedpan collections in long-term care to drainage bag emptying in hospitals. Mastering this skill demonstrates your competency in infection control, accurate documentation, and patient safety protocols that form the foundation of quality healthcare.
Master This Skill With Expert Video Guides
Join 6,000,000+ students who passed with Mometrix’s proven study system
Get Instant Access →Step-by-Step Urinary Output Measurement Procedure
Follow this detailed 15-step process to ensure testing success and proper technique:
Opening Procedures and Patient Communication
- Knock and enter the patient’s room, introducing yourself and explaining the procedure
- Perform proper hand hygiene using soap and water or alcohol-based sanitizer.
- Gather necessary equipment: graduated measuring container, gloves, paper towels, or protective barrier.
- Position equipment within easy reach while maintaining a clean workspace organization
Equipment Setup and Barrier Placement
- Put on clean disposable gloves before handling any urine collection device
- Place a protective barrier (paper towel or chuck pad) under the measuring area to catch potential drips.
- Position the graduated container on a flat, stable surface for accurate measurement reading.
Collection Process with Contamination Prevention
- If using a bedpan or urinal: carefully pour urine into the graduate, controlling flow to prevent splashing.
- If emptying the catheter bag: open the drainage spout without allowing the tip to touch the measuring container
- Ensure complete emptying while maintaining sterile technique throughout the collection process.
Measurement Technique – Eye-Level Reading and Rounding
- Place the graduate on a flat surface at eye level for accurate volume reading
- Read measurement at eye level, rounding up to the nearest 25mL if liquid falls between graduation lines.
Documentation, Cleanup, and Final Hand Hygiene
- Remove gloves and perform hand hygiene before touching documentation materials.
- Record output in milliliters or other appropriate form with the current time notation
- Rinse equipment, dispose of urine properly, and restore the workspace to a clean condition.
Students who practice this sequence develop muscle memory, which prevents procedural oversights under testing pressure.
Practice With 600+ CNA Exam Questions
See exactly how this skill appears on the real test
Measuring Urinary Output Interactive Skills Checklist
Use our interactive checklist to practice each step of the urinary output measurement procedure and track your preparation progress. This tool helps you identify which steps need more practice before testing day, and the downloadable PDF version lets you bring a study guide to your clinical practice sessions.
Critical Accuracy Requirements by Testing Provider
Understanding provider-specific requirements eliminates confusion and builds testing confidence. Each major testing provider maintains distinct accuracy standards and documentation protocols.
NNAAP/Credentia Requirements
NNAAP enforces strict measurement precision with a ±25mL accuracy tolerance. Exceeding this range results in automatic failure for the measurement component.
Key NNAAP specifications include:
- Rounding rule: Round up to nearest 25mL when liquid level falls between graduation lines
- Critical element: Must remove gloves before recording documentation
- Failure context: Less than 5% of candidates fail specifically due to measurement inaccuracy
- Documentation timing: Hand hygiene is required before touching recording materials
The 25mL standard reflects NNAAP’s emphasis on precision in healthcare measurements. Students who understand this requirement focus on proper technique rather than worrying about minor variations.
Prometric Standards
Prometric allows more lenient measurement tolerance at ±50mL accuracy range. This doubled tolerance reduces measurement anxiety while maintaining professional standards.
Prometric testing requirements:
- National pass rate: 87.7% success rate, with 12.3% failure rate
- Documentation format: Must complete the official I&O form with time and “urine” label
- Critical timing: Glove removal before documentation remains mandatory
- Form completion: Recording must include volume in mL, time stamp, and urine identification
The larger tolerance range acknowledges practical measurement challenges while ensuring candidates demonstrate proper technique and documentation skills.
Headmaster Protocols
Headmaster maintains a ±25mL standard similar to NNAAP, though some states allow ±30mL variation based on local protocols.
Headmaster-specific requirements:
- Procedural sequencing: Strict order enforcement for all technique steps
- Documentation mandate: Signed documentation sheet required for completion
- PPE timing: Glove removal timing varies by individual state protocol
- State variations: Tolerance ranges may differ based on local nursing board requirements
Students testing through Headmaster should verify their state’s specific protocols, as variations exist in tolerance ranges and procedural requirements.
Provider Comparison Table
| Testing Provider | Accuracy Tolerance | Documentation Requirements | Key Notes |
|---|---|---|---|
| NNAAP/Credentia | ±25mL | Remove gloves before recording | <5% fail on accuracy |
| Prometric | ±50mL | Complete the I&O form with time | 87.7% national pass rate |
| Headmaster | ±25mL (some states ±30mL) | Signed documentation sheet | State protocol variations |
Common Mistakes That Cause Automatic Failures
Most urinary output measurement failures stem from procedural oversights rather than measurement inaccuracy. Understanding these common errors prevents unnecessary test anxiety.
Documentation Errors
Recording mistakes represent the most frequent failure category across all testing providers.
- Unit confusion: Using ounces instead of milliliters causes immediate failure. Healthcare documentation requires metric units exclusively. The conversion rate of 30mL per ounce is helpful for understanding, but recording must always use mL.
- Incomplete documentation: Missing time stamps, failing to label output as “urine,” or leaving fields blank results in automatic failure. Each provider requires specific documentation elements.
- Timing errors: Recording measurements before removing gloves violates infection control protocols and results in procedural failure.
Infection Control Violations
Proper infection control demonstrates professional competency and patient safety awareness.
Students sometimes struggle with glove removal timing. One student shared their experience: “I failed somehow when reading urinary output; everything else was fine.” Often, this reflects procedural timing rather than measurement accuracy.
- Equipment contamination: Allowing catheter drain spouts to touch measuring containers compromises sterile technique. Maintaining separation prevents bacterial transmission.
- Hand hygiene omissions: Skipping hand washing after glove removal before documentation violates standard precautions and results in automatic failure.
Measurement Technique Errors
While accuracy failures remain uncommon, proper technique ensures consistent results.
- Reading position errors: Measuring containers must be read at eye level on flat surfaces. Parallax errors from incorrect viewing angles can push measurements outside tolerance ranges.
- Improper rounding: Failing to round up to the nearest graduation marks can create accuracy discrepancies, particularly with NNAAP’s strict 25mL tolerance.
- Equipment handling: Spilling urine during transfer or using contaminated measuring containers demonstrates poor technique and safety awareness.
Community wisdom emphasizes preparation: “Recording skills are my favorite and urinary were ours and I knew them to the tea.”
Managing Test Anxiety and Performance Pressure
Test anxiety around measurement skills often exceeds the actual difficulty level. Understanding why students consistently report urinary output as manageable helps build realistic confidence.
Why Students Prefer Urinary Output Measurement
The consistent community preference for urinary output over other measurement skills reflects several practical advantages.
- Visual confirmation: Unlike pulse or blood pressure measurements requiring auditory skills, urinary output provides direct visual feedback. You can see your measurement and verify accuracy before recording.
- Clear procedures: The step-by-step process follows a logical sequence without timing pressure. Students appreciate the methodical approach compared to timed measurements.
- Tolerance ranges: Even with strict accuracy requirements, the tolerance ranges accommodate normal measurement variations when proper technique is followed.
Students often express relief when receiving this assignment: “got lucky to get urinary output as my measurement skills. I am so relieved.”
Performance Psychology Under Observation
Evaluator presence can affect measurement accuracy through performance anxiety. Understanding this dynamic helps maintain focus during testing.
- Observation effects: Some candidates become overly cautious under evaluator scrutiny, second-guessing measurements that they would normally feel confident about.
- Confidence building: Practicing measurement techniques repeatedly develops muscle memory that performs consistently regardless of observation pressure.
- Focus strategies: Concentrating on procedure execution rather than evaluator reactions maintains attention on critical steps.
The community validates this experience: students who prepare thoroughly report feeling confident despite initial nervousness about precision requirements.
Realistic Success Expectations
Statistical context provides a perspective on actual vs. perceived difficulty levels.
Testing data shows measurement accuracy rarely causes failure when students follow proper technique. The majority of unsuccessful attempts result from procedural oversights rather than precision errors.
Students who understand the distinction between accuracy requirements and the procedural competency approach should test with appropriate confidence levels.
Urinary Output Measurement Video Demonstrations
Watching experienced CNAs perform this skill helps you understand the flow and timing that written steps can’t fully capture. These video demonstrations from CNA training programs show proper technique, common variations you might encounter during testing, and the confident, methodical approach that evaluators look for.
Measuring Urinary Output FAQ for CNA Students
Always record in milliliters (mL) for healthcare documentation. Never use ounces on official forms. The metric system ensures consistency across all medical measurements and prevents calculation errors.
Remove gloves and perform hand hygiene before touching documentation materials. This timing prevents contamination of recording forms and demonstrates proper infection control technique.
For NNAAP/Headmaster testing, exceeding ±25mL tolerance fails the measurement component. However, less than 5% of students actually fail due to accuracy issues when following proper technique.
Visual confirmation, clear procedures, and tolerance ranges make urinary output more predictable than timed measurements. Students consistently report preferring this skill over blood pressure or pulse measurements.
Ready to Ace Your CNA Exam?
Get everything you need: video guides, practice tests, and detailed study plans